How to Silicone a Bath / Shower Tray – What is the Best Shower Sealant
- Posted by Direct Sealants in Sealants
- March 21, 2018
- No Comments
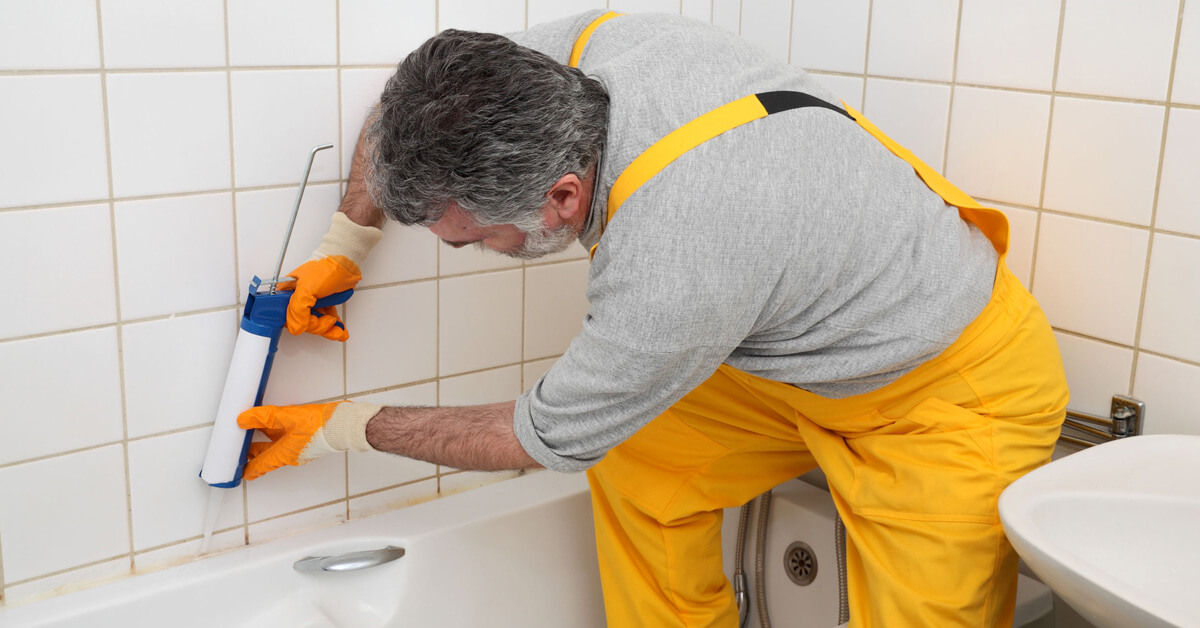
How to silicone a bath
Before you start enjoying that new bath, sealing it with silicone is essential. First of all, this stops leaks from making their way beneath the surface, preventing mould, rotting, and flooding.
It also stops water from doing damage to the subframe of the bath. Silicone can be a tricky, sticky substance to use, so here we’re going to break down the easiest way to apply it.
For this task, you’re going to need:
- A flexible silicone shower sealant
- A silicone gun
- A Stanley knife
- Turpentine
- A strip of cardboard
- Your finger
Before you start
Make sure you’re using the appropriate flexible silicone instead of standard grout. Grout is vulnerable to small cracks when pressure is put on it, which can again lead to leaks under the top surface of the bath.
The best shower sealant, such as Bond it Bathmate ensures that the sealant is strong, firmly bonded, but flexible as opposed to brittle. Also, ensure that all your wall tiles are fully grouted and dried before you start with this task, as well. Now, let’s get down to it.
Step One: If you’re replacing old silicone
Most silicone products last around 20 years, but if it’s time to replace the old sealant, you have to remove it first. The Stanley knife can be used to cut through it and pry it out without too much issue.
Step Two: Clean the area
Any remaining silicone residue, dirt, or grease has to be removed from the area. Otherwise, you won’t have an even, clean application of silicone. It will have trouble bonding to the surface, and this can end up creating gaps that water can seep through. Turpentine can be used here to ensure a thorough clean.
Step Three: Lay out the masking tape
You’re using masking tape here to make sure that your silicone has a nice, neat line. Lay a line of masking tape beneath and above the joint. Ideally, you want to leave about 3mm of distance between the centre of the joint and the masking tape. This gives the sealant a consistent width all the way and stops you from getting silicone on the bath or the tiles.
Step Four: Preparing the sealant
Using your Stanley knife again, you want a hole in the nozzle of the silicone tube that allows for a nice, even flow. It only needs a small hole, cut at a 45-degree angle. Once that’s done, you can use a nail, a needle or any other small, pointy object to pop the seal in the nozzle.
Step Five: Loading your gun
The gun is used to apply the sealant. To use it, find the release trigger on the back of the gun and hold it down. This will allow you to pull the plunger back, which will make room for the silicone tube to fit inside the frame. After that, push the plunger back until it’s against the base of the tube.
Step Six: Practice makes perfect
Now you’re ready, but it’s a good idea to test out the silicone first. You want to ensure you are comfortable using the gun and that the silicone has enough of a hole to flow freely. Practice a few lines on a strip of cardboard. You want a consistent flow of silicone. If it’s just seeping or dripping out, you’re not doing it right.
Step Seven: Sealing the joint
Then it’s time to apply the silicone for real. Hold it just above the surface, angling it so that you have a clear view of how well it’s flowing. As you seal along the joint, you want to keep it in one consistent line.
Avoid stopping where possible and move the nozzle from beginning to end. When you reach the end, pull your finger off the trigger and move the gun back quickly so as to avoid a stringing effect.
Step Eight: Get that finger ready
This is why you need your finger for this project. You have to run it across the silicone. Dip it in a warm water and washing-up liquid mix to avoid friction beforehand. You don’t need too much pressure, just keep it smooth and press a little to ensure it bonds with the surface.
Step Nine: The finishing touches
If the silicone is smooth and you’re happy with it, now is the time to remove the masking tape you applied earlier on. Don’t let the silicone dry, remove the tape ASAP, making it as smooth and consistent as possible. You should have a neat, uniform line of silicone.
Then you run your finger over the edges once more to ensure there are no gaps along those edges. It should take about 24 hours for the silicone to form a watertight bond with the surface, so avoid any baths or showers until then.
There you have it. Though silicone can be tough to use, angling the nozzle and using masking tape helps encourage an easier flow, while ensuring the end result is tight, firmly bonded, and easy-to-apply.
Hopefully, you’re ready to replace or apply fresh silicone without too much fuss.
How to seal a shower tray
An unsealed shower tray is a liability. It’s the cause of most leaks, which work their way under the surface to cause mould and damp, as well as damage to the underframe of the tray.
Stopping it is easy enough, you just need to apply the best sealant for showers in a clean, consistent fit. Here’s how you do it.
What you’ll need:
- A high-quality silicone shower sealant, choose one that’s flexible with antifungal properties
- A silicone gun
- A Stanley knife
- A strip of cardboard
Before you start
Make sure you’re using the appropriate sealant. The best shower sealant options, such as Everbuild Showerproof Bathroom Silicone, is both flexible and anti-fungal. You want to avoid using regular grouts because they can suffer tiny cracks under pressure, which gives water a way in underneath the tray.
Step One: Preparing the area
If the shower tray has old sealant you’re replacing, you have to remove it first. Use your Stanley knife to slice away at it and be gentle. You want to avoid leaving any scratches or scrapes on the surface itself.
Then you want to clean any residue, dirt, or grease has to be removed from the area. If there’s any dust or grease left, the sealant won’t be able to bond properly to the surface, and this can end up creating gaps that water can seep through.
A warm, wet, soapy dishcloth should do the job here. Pad it dry with kitchen towels and leave it for a couple of hours to ensure it’s fully dry.
Step Two: The sealant tube
Use your Stanley knife to cut a hole in the nozzle of the silicone tube. You want a small hole, cut at a 45-degree angle to allow for an easy, even stream of silicone. Most tubes come with dotted lines marking where to cut it. There’s a seal inside the nozzle, which can be easily broken with a nail or another small, pointy object.
Step Three: Loading your gun
The gun ensures easy application of the sealant First, hold down the release trigger on the back of the gun with your thumb. This releases the plunger, which you can then pull back to fit the shower sealant tube in.
Step Four: Practice
Silicone can be a tricky substance to use, so it’s a good idea to practice, first. Just use a strip of cardboard and practice a few lines to make sure that the silicone is flowing, not dripping or squirting.
Step Five: Applying the sealant
Hold the sealant at a 45-degree angle over the surface, ensuring you have a good view of how well it’s flowing. Avoid stopping as you move from one end of the joint to the other ensuring a clean, consistent line.
When you reach the end, pull your finger off the trigger and pull the gun away quickly. Make sure there are no visible gaps and gently apply a little more over any gaps you can see. If there’s any excess silicone on the nozzle, just wipe it away before you apply the cap.
Step Six: Smooth the silicone
You can use your finger, or you can use a sealant smoothing tool. Either way, using only a little pressure, smooth it out from one end to the other, pressing to ensure the sealant bonds
properly with the surface.
After you’re done, it will take 24 hours for the silicone to form a watertight bond with the surface. Avoid letting the sealant come into contact with any moisture or water until it has fully dried.
Conclusion
Though using a sealant tube and a silicone gun might seem intimidating at first to those who have never tried it, the process is simply enough.
Make sure you check out our range of shower sealant options to find one that’s flexible, anti-fungal and suited to the materials in your bathroom and you’re good to go.