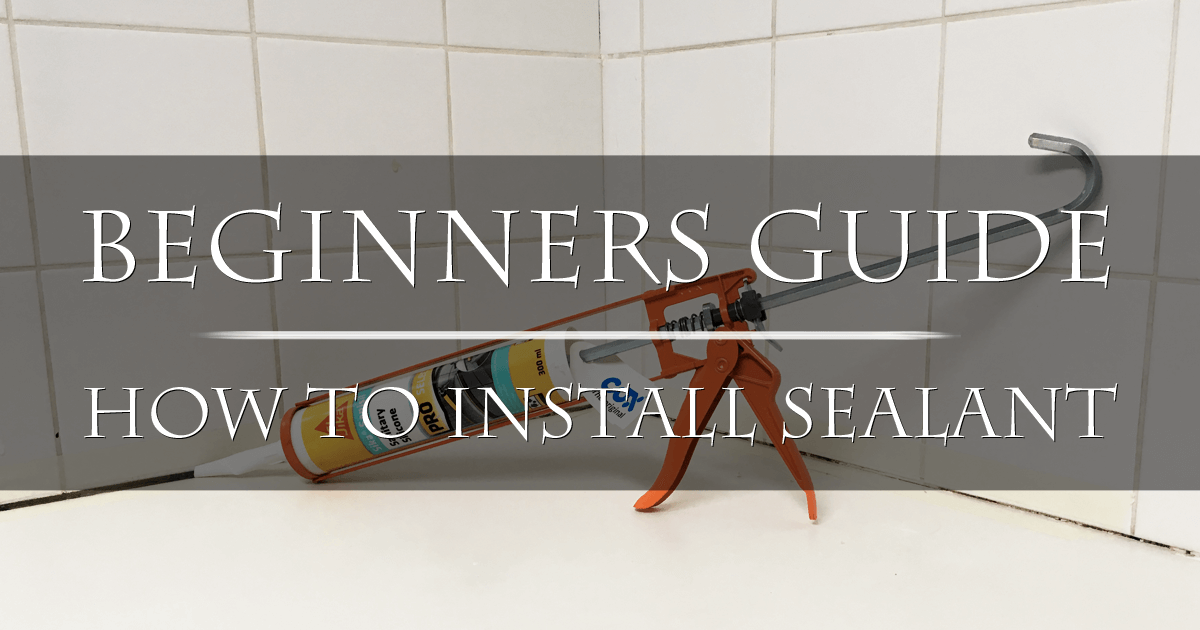
The Beginners Guide To Installing Sealant
- Posted by Direct Sealants in Sealants
- February 12, 2018
- No Comments
In this tutorial, we will explain a step-by-step method for installing sealant to various sanitary applications, skirting boards, internal frames and other internal substrates.
This method may be slightly more time consuming than the professionals approach, however it will leave you with a finish near enough the same quality as a well experienced sealant applicator.
Tools needed for installing sealant
- High Modulus Sealant – Note: For sanitary applications you must use a sealant that holds anti-fungal repellent.
- Skeleton Application Gun
- Masking Tape
- Small piece of Timber
- Utility Knife
- Spray Bottle – Consisting of 10% washing liquid and 90% water.
Installing sealant preparation
Get a small piece of Timber
Using your utility knife cut this wood at a 45º flat angle to the same width as the substrates joint size.
High Modulus Sealant
Ensure you have the correct sealant for the job at hand. Cut off the tip of cartridge, allowing sealant to be squeezed through. Cut the nozzle to a 45º angle, again to the same size as the substrates joint.
Skeleton Application Gun
Insert the sealant cartridge and await further instructions.
Step One
Insert masking tape above and below the substrate, leaving joint the that we are sealing open and ensure the gap is to the same size as your nozzle and timber.
Step Two
Using our Skeleton Gun rotate the cartridge so the tip of our nozzle is in line with the deepest part of the substrates joint.
Start to squeeze the gun with a smooth and constant quantity of sealant withdrawing, maintain a steady speed and try to keep the bead size of sealant the same throughout until the whole joint is covered.
Step Three
You have now covered the joint with a steady bead of sealant that is the same size throughout.
Lightly spray the sealant with our formula in the spray bottle, this will prevent the sealant from sticking to our piece of timber when tooling in.
Now using our piece of timber that we have cut to the same width and size as the substrates joint at a flat 45º angle, start to gently skim the top of the sealant maintaining the same direction throughout. Don’t worry about the sealant overflowing onto our masking tape.
Try not to be too hard, as we do not want to spread the sealant unevenly, but try to smooth carefully until the finish is to your liking.
Step Four
Leave to cure for at least 24 hours.
It is imperative during this time nothing touches the sealant, as it will spoil the finish.
Step Five
Once left for a minimum of 24 hours, you can check if the sealant has cured correctly.
You will have to touch gently to see whether the sealant is firm and tight to the joint.
If the above is correct you can now slowly remove the masking tape.
By removing the masking tape it will reveal a clean, tight finish that is up to the same standard as an experience professional applicator.